


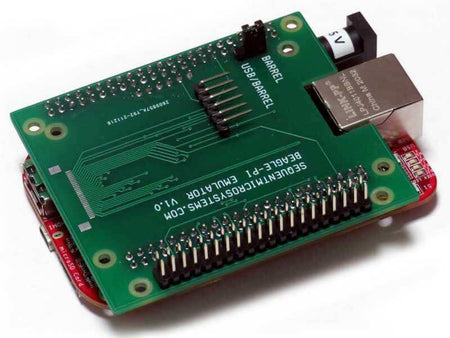
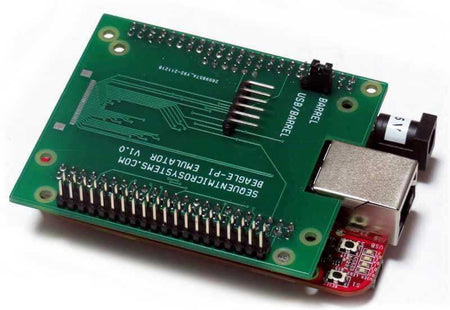


Beagle-Pi Raspberry Pi Emulator Using Beagle Bone Black
Replace Raspberry Pi with Beagle Bone: Map all GPIOs, I2C, SPI and UART ports; Runs Linux on internal Flash.
FEATURES
- Beagle-Pi Raspberry Pi Emulator Using Beagle Bone Black
- Replace Raspberry Pi with Beagle Bone Black/Industrial Cards
- Maps all Raspberry Pi GPIO pins to Beagle IO's
- Maps I2C, SPI and UART to corresponding Beagle Bone ports
- Brings out the Beagle Bone serial debug connector
- Includes 30 pin FFC connector for external display
- Runs all Raspberry Pi software: Command line, Python, Node-RED
- No SD-CARD needed! Runs Linux on internal flash.
- Beagle Raspberry Pi Emulator
- Ambient operating temperature: -40°C to 85°C
DESCRIPTION
Raspberry Pi Emulator using Beagle Bone Black
Beagle Bone cards are readily available, from $50 to $100. They have lots of GPIO pins, I2C, SPI and serial interfaces. The boards run Linux and Node-RED, and could run all Raspberry Pi software.
The Beagle-Pi is a passive adapter which maps all the Raspberry Pi GPIO pins to corresponding pins on the Beagle Bone Black interface. The I2C, SPI and serial ports are mapped to the identical interfaces. The other I/O pins are mapped 1 to 1. PWM pins on the GPIO connector are connected to PWM capable pins on the Beagle Bone.
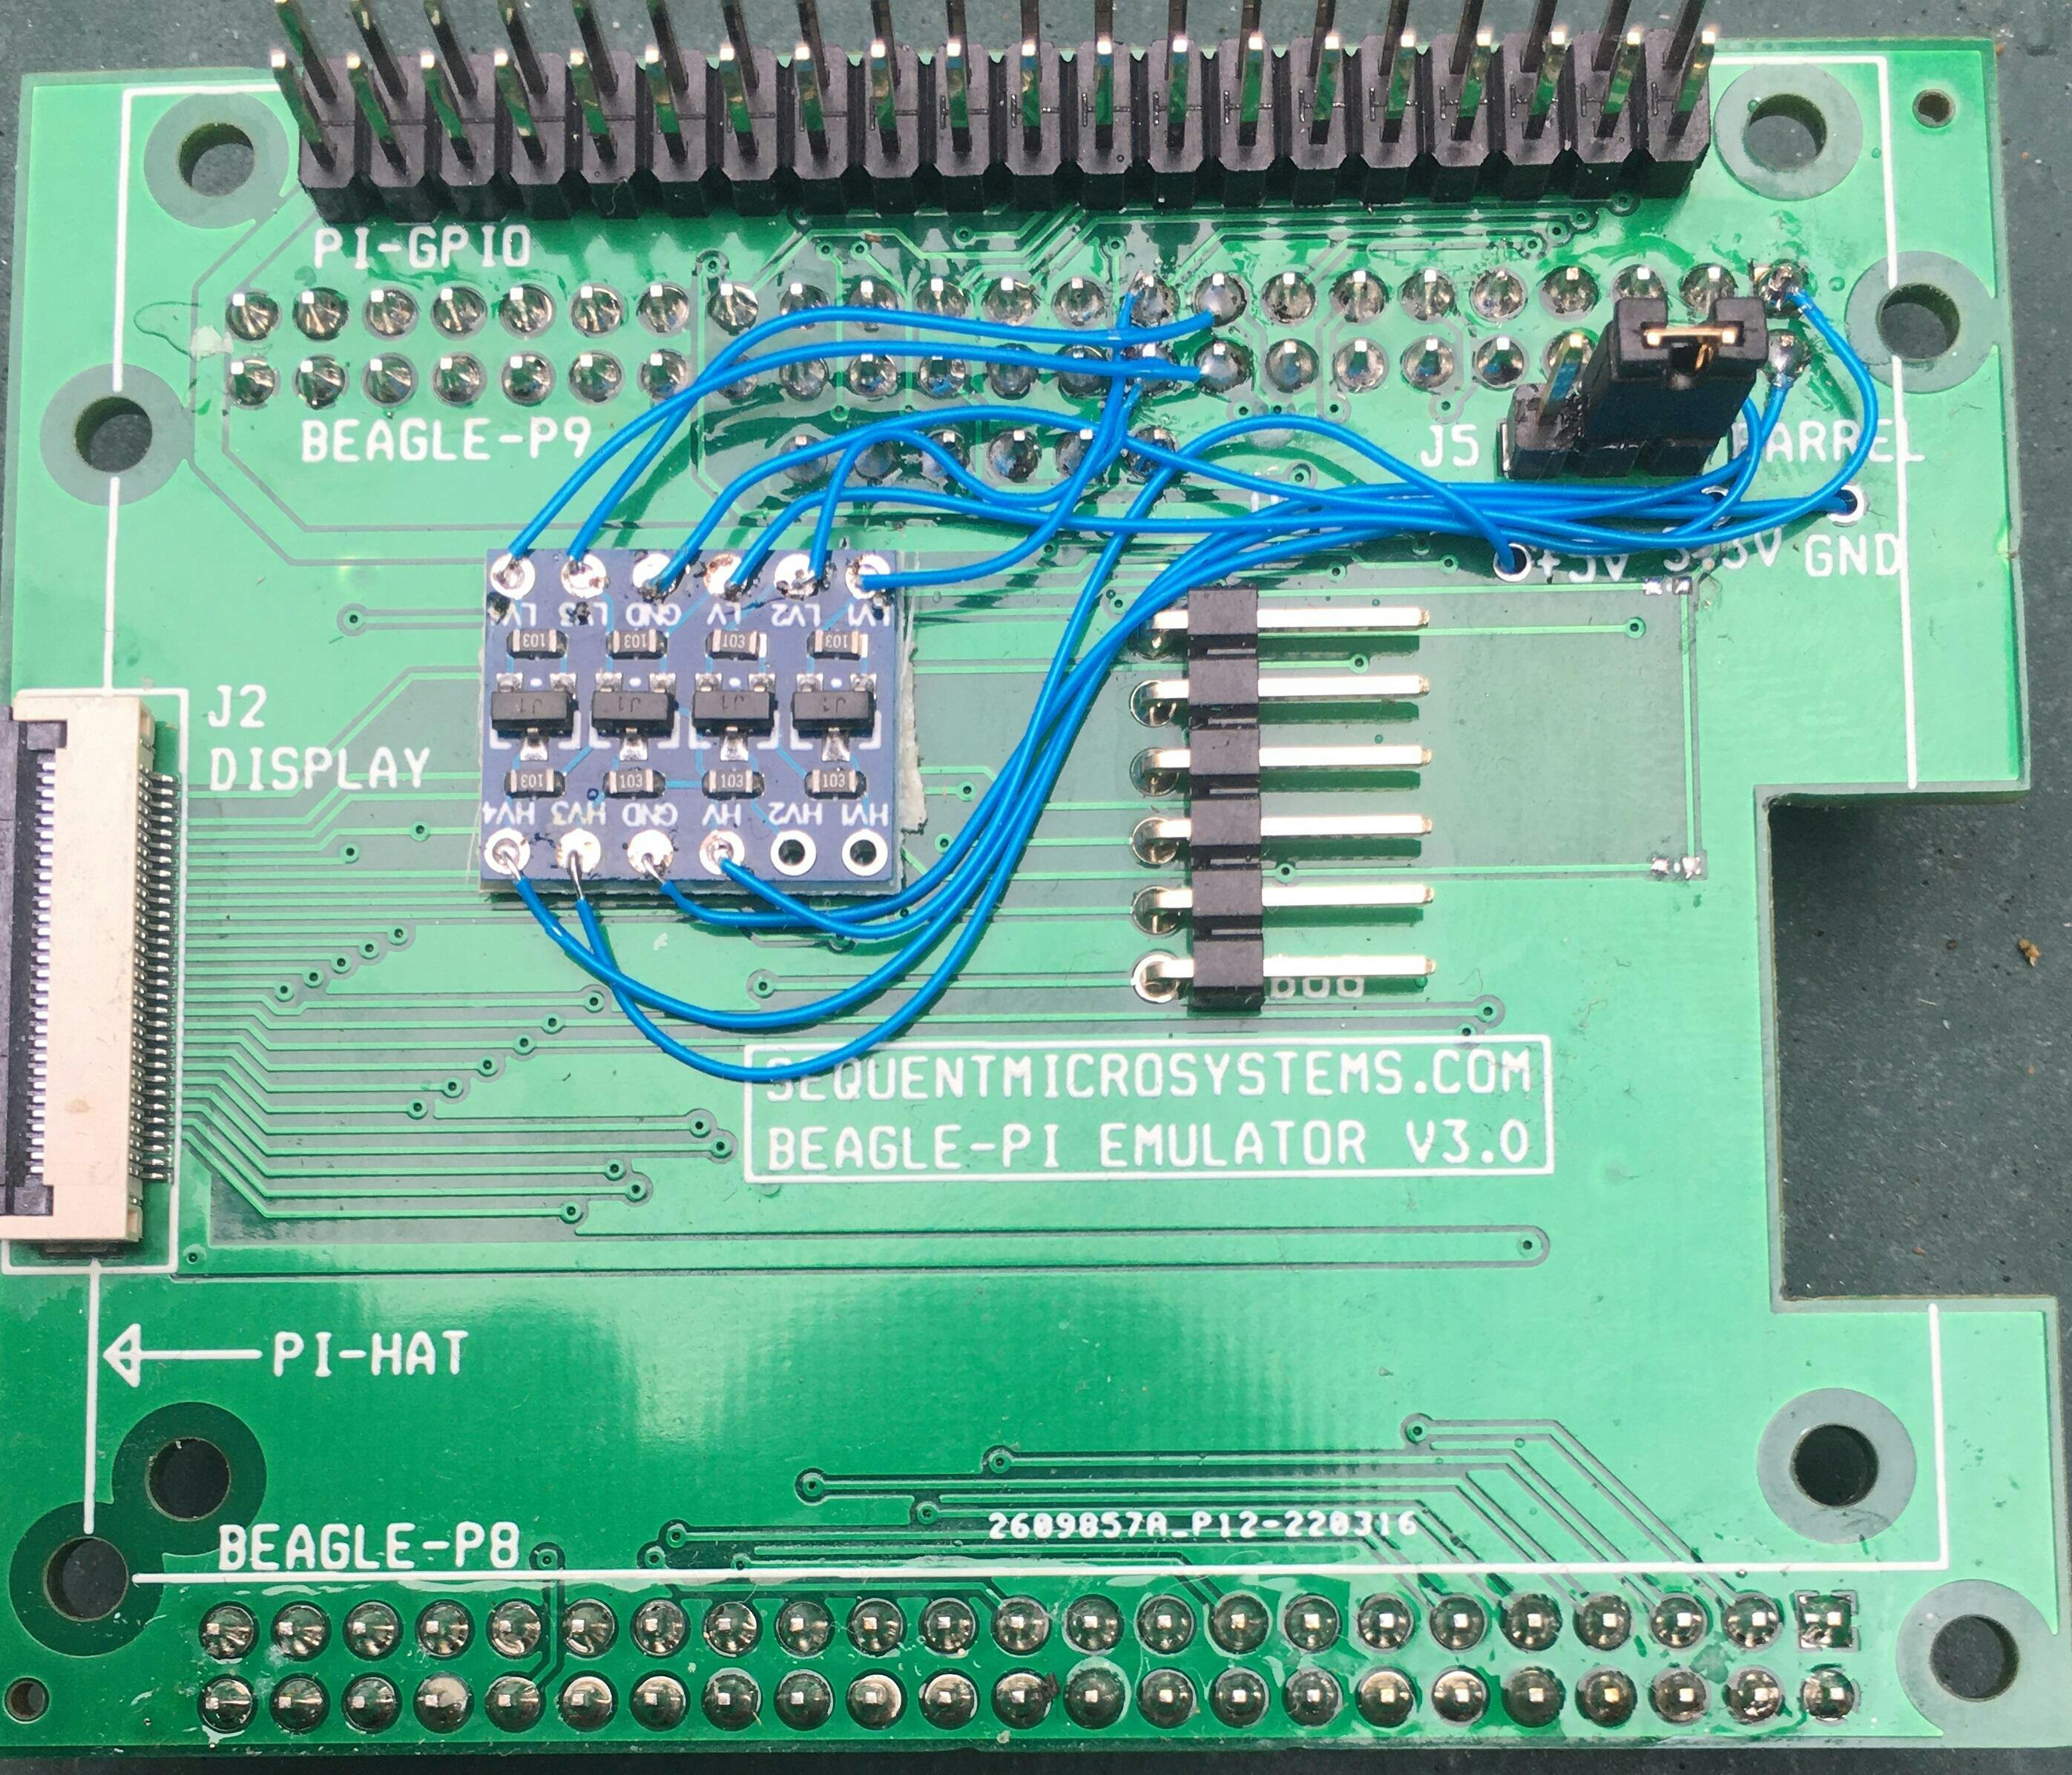
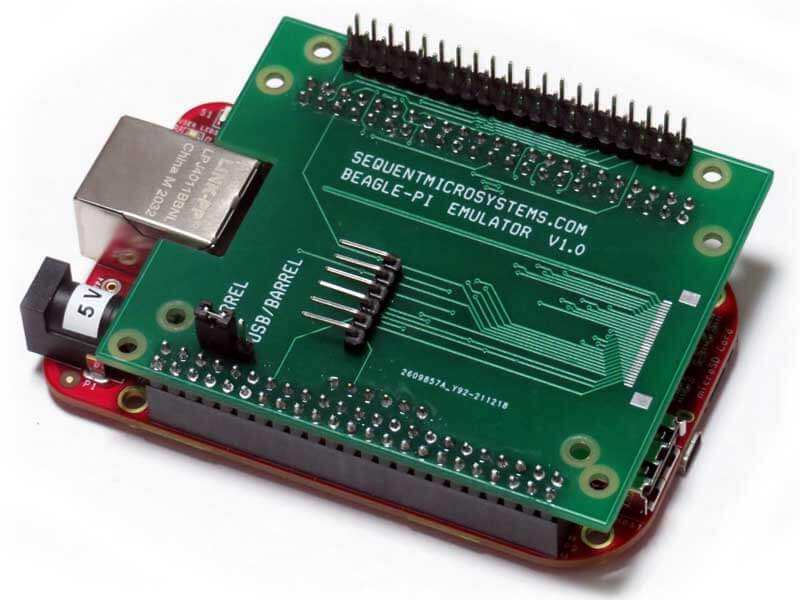
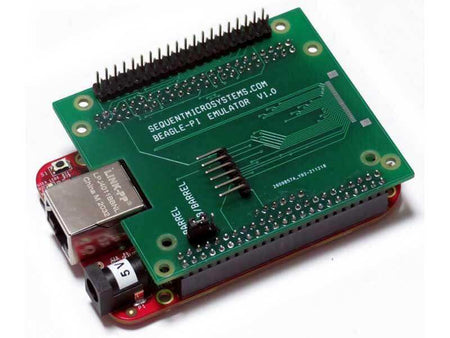
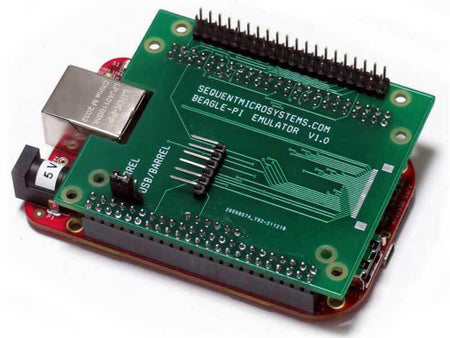
LAYOUT

The Beagle-Pi board plugs into the Beagle Bone Black board using P8 and P9 connectors, and emulates the Raspberry Pi GPIO connector J1. Any IO board designed for Raspberry Pi can be plugged into the Beagle Pi adapter. The adapter mounts on the Beagle Bone card using the four outside holes. Raspberry Pi HATs can be plugged into the J1 connector and secured using the four inside holes.
Connector J5 selects the source of power for the BeagleBone, from the barrel or the USB connector.
Connector J3 brings out the serial debug port, and J2 brings out the display port of the BeagleBone.
GPIO MAP
The tables bellow shows the correspondence between the Raspberry Pi GPIO pins and the Beagle Bone pins.

DOWNLOADS
Open Source Hardware Schematic V2
Open Source Hardware Schematic V3
SOFTWARE
All the Sequent Microsystems drivers have been compiled for Beagle Bone and can be downloaded from GitHub. GPIO pin mapping commands will be available soon.
sudo usermod -a -G i2c node-red
config-pin p9.13 uart
YOUR KIT
When you purchase the Beagle Pi Raspberry Emulator you will receive the following items:
1. Beagle-Pi Board


APPLICATIONS
Sample applications coming soon. Cards are in production right now.
NEWS
Beagle-Pi Emulator is a Raspberry Pi HAT adapter for BeagleBone Black
Expand Your System
-
 In stock
DIN-RAIL Kit Type2 Perpendicular Mount for Raspberry Pi
Install Raspberry Pi and any number of HATs perpendicular to the DIN-Rail; One kit for up to 5 HATs. -
 In stock
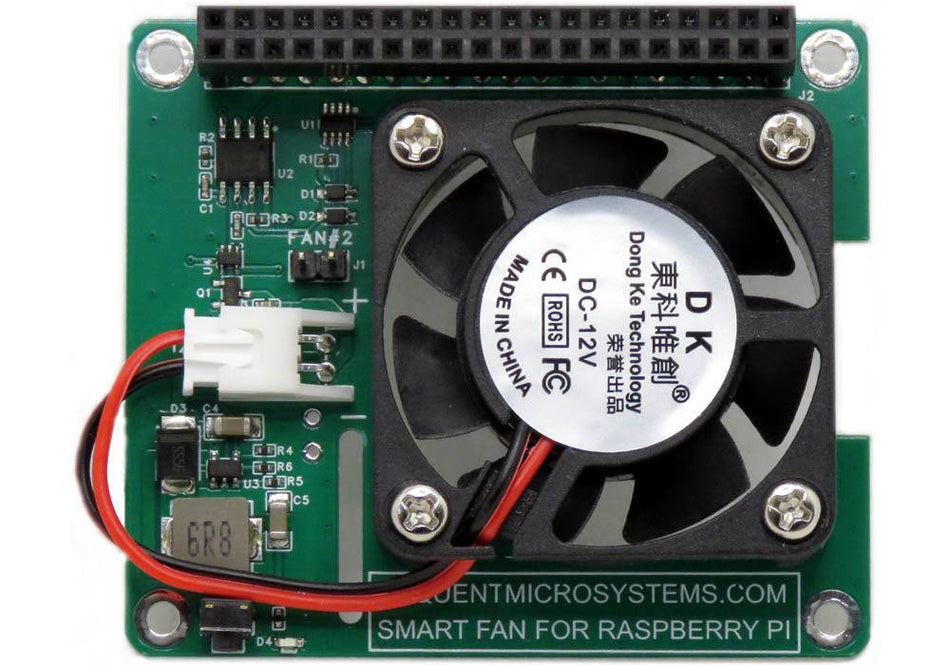
Smart Fan HAT the Best Cooling Solution for Raspberry Pi
PWM controlled 40x40x10mm Fan keeps Raspberry Pi temperature constant; Stackable with any other HAT. -
 In stock
DIN-RAIL Kit Type1 Parallel Mount for Raspberry Pi
Install Raspberry Pi and multiple HATs parallel on the DIN-Rail; 90% rotation; Raspberry Pi 1 to 5. -
 In stock
Super Watchdog HAT with UPS Battery Backup for Raspberry Pi
Industrial-grade watchdog and UPS backup to keep your Raspberry Pi running safely.